前端工程师必看!React Native样式布局的10个颠覆性差异,你踩过几个坑?
作者:佚名 时间:2025-11-12 06:09

身为一名长时间聚焦于移动开发范畴的技术编辑,本人发觉React Native的样式体系虽说参考了Web开发观念,然而在达成细节方面呈现出独有的跨平台思维方式,这般的设计不仅削减了前端开发者的学习所要耗费的精力,还留存了原生平台的渲染特质,着实值得进行深度细致的分析研究。
样式书写规范
在React Native环境里,样式表得遵循JavaScript语法规范要求,传统CSS当中的连字符命名方式要转成驼峰格式,像那line-height要写成lineHeight,font-size得调整成fontSize,这样的转换使得开发者在编写样式之际要保持高度警惕,防止因命名错误致使样式失效 。
import { StyleSheet, Text, View } from "react-native";
export default function App() {
return (
<View style={styles.container}>
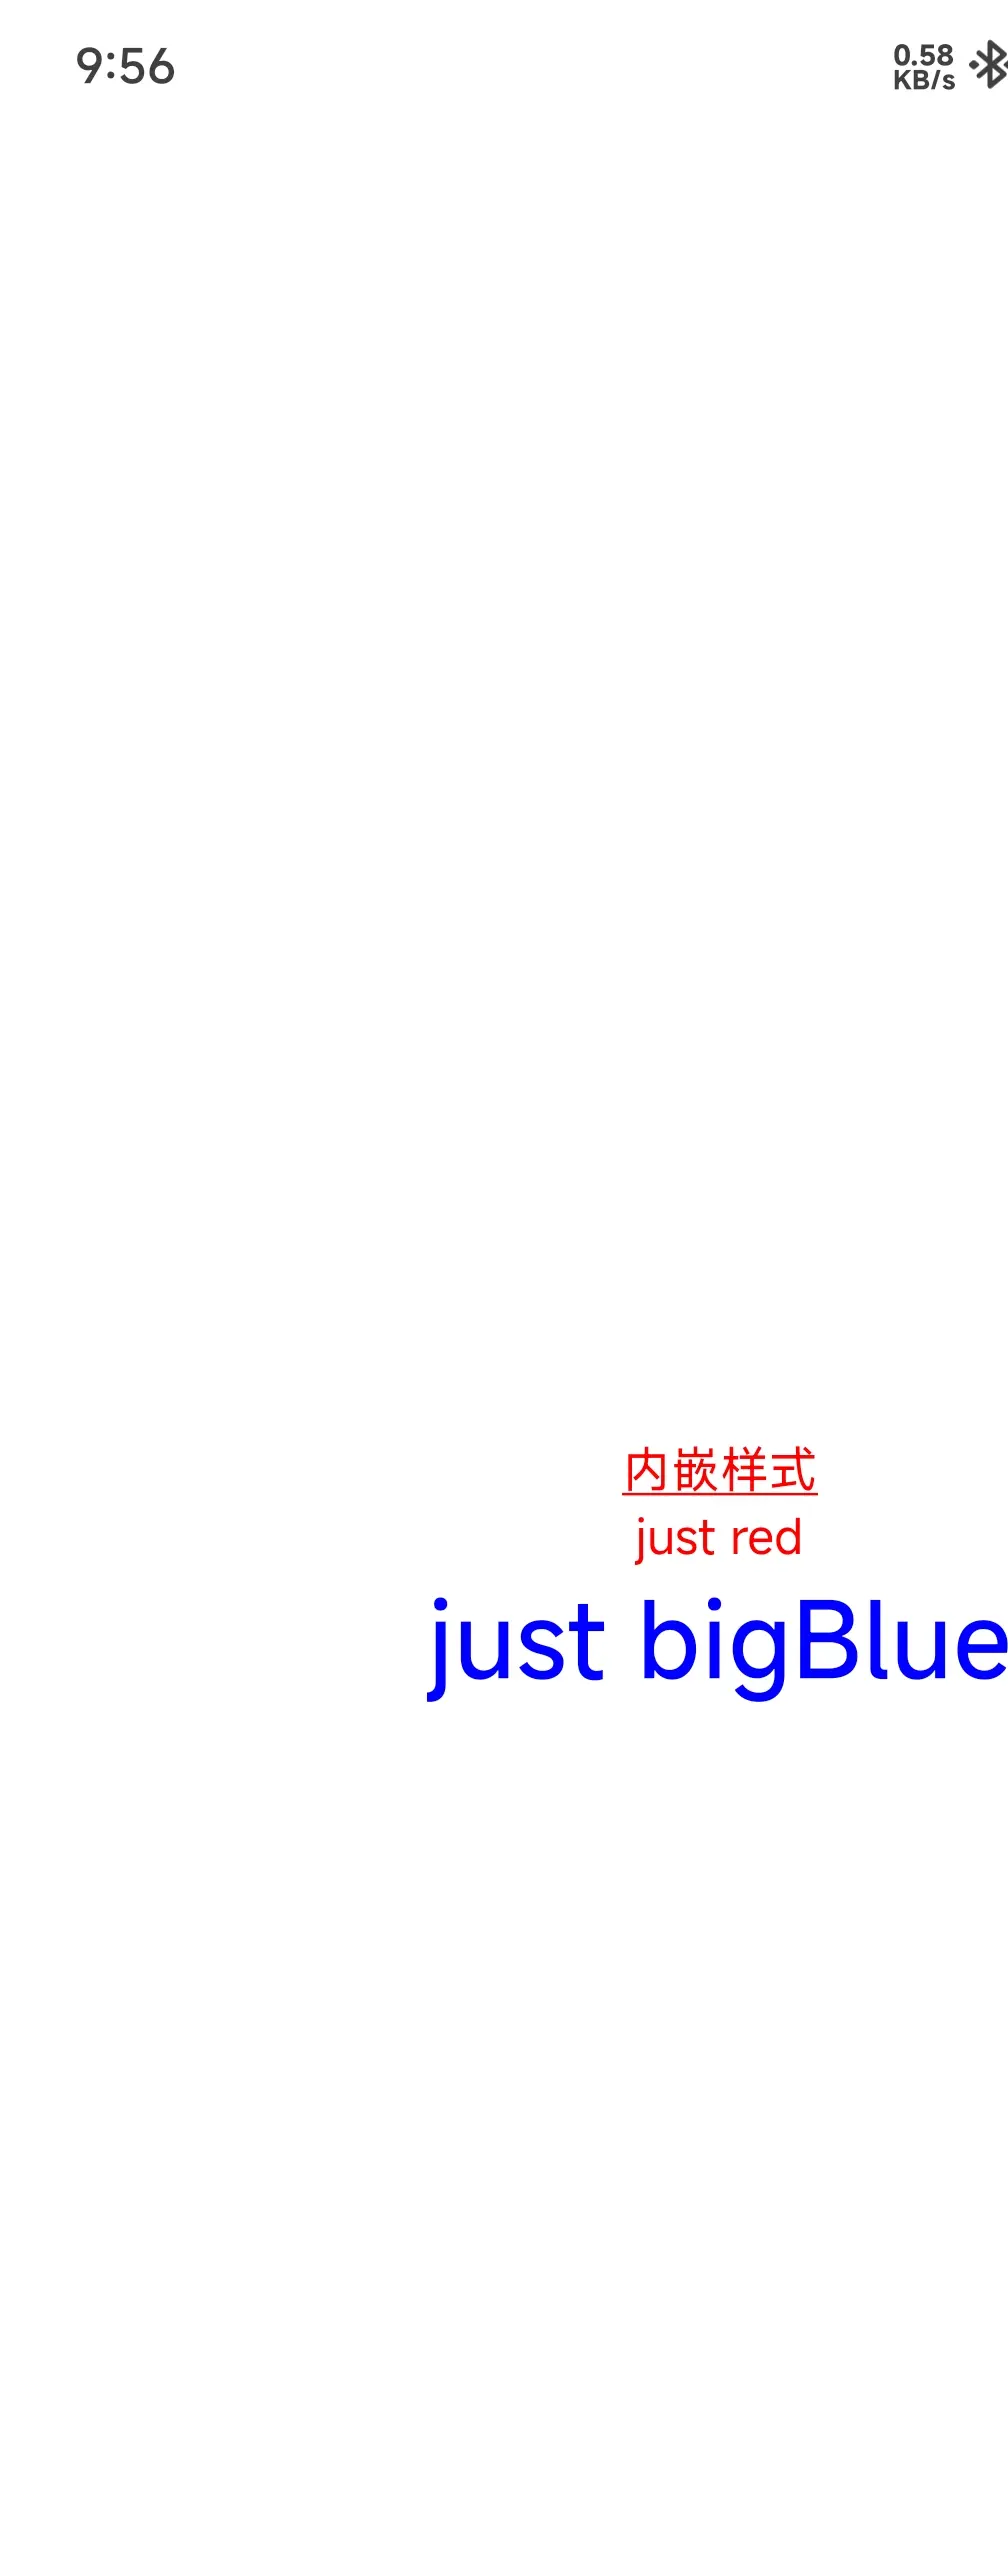
<Text style={{ color: "red", textDecorationLine: "underline" }}>
内嵌样式
Text>
<Text style={styles.red}>just redText>
<Text style={styles.bigBlue}>just bigBlueText>
View>
);
}
const styles = StyleSheet.create({
container: {
flex: 1,
backgroundColor: "#fff",
alignItems: "center",
justifyContent: "center",
},
bigBlue: {
color: "blue",
fontWeight: "bold",
fontSize: 30,
},
red: {
color: "red",
},
});
被支持的并非是样式缩写在这套体系当中,开发者得把复合样式给拆解成独立属性才行。就拿border: 1px solid #ccc来说,一定要分解成borderWidth: 1,borderStyle: 'solid',borderColor: '#ccc'这三条独立规矩来讲。尽管这种设计让代码量变多了,可依然提升了样式的可读性以及精确性 。
<Text style={[styles.bigBlue, styles.red]}>bigBlue,then redText>
<Text style={[styles.red, styles.bigBlue]}>red,then bigBlueText>
样式表创建方法

React Native 给出了 StyleSheet.createAPI 用以对样式规则开展集中管理,此方法接纳样式对象当作参数,借由把样式声明统一存于一处,不但达成了样式代码的组织性,还强化了渲染性能,于实际开发里,提议把组件的所有样式定义在文件顶部的 StyleSheet.create 方法之中。
import { StyleSheet, View } from "react-native";
export default function App() {
  return (
    // 在样式中指定固定的 width 和 height
    // 尺寸都是无单位的,表示的是与设备像素密度无关的逻辑像素点
    <View style={styles.container}>
      <View style={{ width: 50, height: 50, backgroundColor: "powderblue" }} />
      <View style={{ width: 100, height: 100, backgroundColor: "skyblue" }} />
      <View style={{ width: 150, height: 150, backgroundColor: "steelblue" }} />
    View>
  );
}
const styles = StyleSheet.create({
  container: {
    flex: 1,
    backgroundColor: "#fff",
    alignItems: "center",
    justifyContent: "center",
  },
});
样式表创建之际,支持数值型属性值以及字符串型属性值。尺寸单位运用与设备像素并非相关联的逻辑像素点,致使界面元素于不同分辨率设备之上维持比例一致。颜色值却需运用完整的十六进制表示法或者RGB函数,保障色彩呈现的准确性。

import { View } from "react-native";
export default function App() {
    return (
        // 最外层使用 flex:1 来指定某个组件扩张以撑满所有剩余的空间
        <View style={{ flex: 1 }}>
            {/* 如果有多个并列的子组件使用了 flex:1,则这些子组件会平分父容器中剩余的空间 */}
            {/* 如果这些并列的子组件的 flex 值不一样,则谁的值更大,谁占据剩余空间的比例就更大。 */}
            <View style={{ flex: 1, backgroundColor: "powderblue" }} />
            <View style={{ flex: 2, backgroundColor: "skyblue" }} />
            <View style={{ flex: 3, backgroundColor: "steelblue" }} />
        View>
    );
}
图片资源引用

图片资源得经由require函数来引入,并且其参数得是静态字符串才行。比如说require('./assets/ok.png')属于合法引用,然而用变量拼接而成的路径是没办法正确解析的。这样的设计对动态图片加载的灵活性予以了限制,不过确保了资源在编译阶段的可追溯性 。
import React from 'react';
import { View } from 'react-native';
const PercentageDimensionsBasics = () => {
  // Try removing the `height: '100%'` on the parent View.
  // The parent will not have dimensions, so the children can't expand.
  return (
    <View style={{ height: '100%' }}>
      <View style={{
        height: '15%', backgroundColor: 'powderblue'
      }} />
      <View style={{
        width: '66%', height: '35%', backgroundColor: 'skyblue'
      }} />
      <View style={{
        width: '33%', height: '50%', backgroundColor: 'steelblue'
      }} />
    View>
  );
};
export default PercentageDimensionsBasics;
图片尺寸的设置支撑数值以及百分比这两种形式,当存在需要图片去自适应容器的情况时能够设置width: '100%'达成满宽显示,与此同时借助保持height: 'auto'来维持原始比例,开发者要留意图片实际尺寸与显示尺寸的匹配关系,防止图像出现失真 。
import { View } from "react-native";
export default function App() {
  return (
    // 尝试把 flexDirection 改为 column 看看
    <View
      style={{ flex: 1, flexDirection: "row", justifyContent: "space-around" }}
    >
      <View style={{ width: 50, height: 50, backgroundColor: "powderblue" }} />
      <View style={{ width: 50, height: 50, backgroundColor: "skyblue" }} />
      <View style={{ width: 50, height: 50, backgroundColor: "steelblue" }} />
    View>
  );
}
文本输入组件

作为核心输入组件的TextInput,提供了诸多丰富文本编辑器功能,该组件准许placeholder占位文本存在,支持keyboardType键盘类型定制,拥有maxLength字数限制等实用特性,借助合理配置这些属性,能够打造契合业务场景所需的输入体验 。
<Image source={require('./my-icon.png')} />
在用户提交文本之际触发的 onSubmitEditing 事件,常常同软键盘的确认键操作产生关联,在实际开展开发工作时,通常会把这个事件和表单验证逻辑相互结合,以此成就即时的数据校验,支持多行文本输入的 multiline 属性,当把它设定为 true 的时候,输入框的高度会依据内容自动进行扩展。
按钮交互实现
import { StyleSheet, Image, View } from "react-native";
export default function App() {
  return (
    <View style={styles.container}>
      <Image source={require("./assets/ok.png")} style={styles.tinyLogo} />
    View>
  );
}
const styles = StyleSheet.create({
  container: {
    flex: 1,
    backgroundColor: "#fff",
    alignItems: "center",
    justifyContent: "center",
  },
  tinyLogo: {
    width: 200,
    height: 200,
    borderWidth: 1,
    borderColor: "#000",
  },
});
Button组件给出跨平台按钮解决办法,得配置title和onPress这两个核心属性,title去界定按钮显示文字,onPress来指定点击事件处理函数,此组件默认适配各平台原生样式,iOS展现蓝色圆角按钮,Android呈现Material Design风格 。
在有统一多平台按钮样式的需求之际,推荐运用TouchableOpacity等触控之类的组件,去配合自定义样式。这些组件能够提供标准化的按压反馈效果,并且还支持样式彻底的自定义。开发者能够借助组合不同的触控组件,来构建有着品牌特色的按钮元素。
// 正确
<Image source={require('./my-icon.png')} />;
// 错误
const icon = this.props.active
  ? 'my-icon-active'
  : 'my-icon-inactive';
<Image source={require('./' + icon + '.png')} />;
// 正确
const icon = this.props.active
  ? require('./my-icon-active.png')
  : require('./my-icon-inactive.png');
<Image source={icon} />;
滚动列表处理
// 正确
<Image source={{uri: 'https://facebook.github.io/react/logo-og.png'}}
       style={{width: 400, height: 400}} />
// 错误
<Image source={{uri: 'https://facebook.github.io/react/logo-og.png'}} />
用于处理可滚动内容区域的ScrollView组件,支持垂直与水平着两种滚动方向,此组件会自动处理触摸事件以及滚动动画,然而在子元素数量过多之际,有可能会对渲染性能造成影响。鉴于此,建议针对复杂列表采用针对性的优化方案。
针对于长列表的那种场景而言,FlatList以及SectionList组件给出了高性能的解决办法。FlatList是依据按需渲染运作机制的,仅仅显示处于可视区域范围之内的列表项。SectionList则额外拥有支持分组标题的功能,它比较契合通讯录这类需要分类呈现的数据组织状态。这两项组件均具备支持下拉刷新等交互方面的特性。
在各位进行开发实践期间,有没有碰到过React Native样式跟Web样式习惯产生冲突的情形 ,欢迎于评论区分享您关于应对此情况的处理办法 ,要是觉得本文具备一定帮助作用请给予点赞予以支持 。
import React, { useState } from "react";
import { Text, TextInput, View, StyleSheet } from "react-native";
export default function App() {
  const [text, setText] = useState("");
  return (
    <View style={styles.container}>
      <TextInput
        style={{ width: 300, height: 40, borderWidth: 1, borderColor: "#000" }}
        placeholder="Type here to translate!"
        onChangeText={(text) => setText(text)}
        defaultValue={text}
      />
      <Text style={{ padding: 10, fontSize: 18 }}>你输入的内容为:Text>
      <Text>{text}Text>
    View>
  );
}
const styles = StyleSheet.create({
  container: {
    flex: 1,
    backgroundColor: "#fff",
    alignItems: "center",
    justifyContent: "center",
  },
});


;)
移动端开发的基础知识,包括样式与布局、图片处理、文本输入与按钮、滚动视图等。RN使用JavaScript语法书写样式,需注意驼峰命名法,并推荐使用StyleSheet.create集中定义样式。Flexbox布局是移动端开发的推荐方案,RN中的Flexbox与Web上的CSS基本一致。Image组件用于显示图片,TextInput组件用于文本输入,Button组件用于创建按钮,Touchable系列组件提供跨平台按钮');)
;)
移动端开发的基础知识,包括样式与布局、图片处理、文本输入与按钮、滚动视图等。RN使用JavaScript语法书写样式,需注意驼峰命名法,并推荐使用StyleSheet.create集中定义样式。Flexbox布局是移动端开发的推荐方案,RN中的Flexbox与Web上的CSS基本一致。Image组件用于显示图片,TextInput组件用于文本输入,Button组件用于创建按钮,Touchable系列组件提供跨平台按钮');)